DIY home fish farm is a simple method of setting up your own fish farm at home to reduce the cost of buying already-made fish farm equipment. Whether it’s for a supply of fresh seafood, a new hobby, or a sustainable living practice, setting up a home fish farm can be a rewarding endeavor. This guide will walk you through everything you need to know to get started. Please read to the end and thank me later.
Why Start a Home Fish Farm?
Before we get into details on how to set up a DIY home fish farm, its crucial we know the importance of setting up a home fish farm. This will serve as a motivational factor to keep going.
“By raising your own fish, you can achieve a higher level of self-sufficiency and provide a healthier diet for your family,” says Steven Van Gorder, author of Small-Scale Aquaculture. Source
1. Self-sufficiency: Growing your own food is a great step towards self-sufficiency.
2. Healthier food options: Farm-raised fish can be free of the chemicals and antibiotics often found in commercially farmed fish. And because you produce what you eat, you can be very careful in the production process to ensure healthy food. That is why DIY home fish farm is crucial.
3. Environmental benefits: Home fish farming can be more sustainable and eco-friendly.
4. Educational: It’s a fantastic learning opportunity, especially for kids.
5. Potential income: If scaled up, it can become a source of extra income.
Step 1: Choose Your Fish Species
First things first, decide what kind of fish you want to farm. Some popular choices include:
– Tilapia: Hardy, fast-growing, and tolerant of various conditions.
– Catfish: Another hardy choice, great for beginners.
– Trout: Requires cooler water, but worth it if you have the right setup.
– Koi: Ideal if you’re also interested in aesthetic value and potential resale.
Read more on 11 Best Fish to Farm for Profit for the best fish species for you.
Step 2: Plan Your System
There are a few different types of systems you can set up for your fish farm:
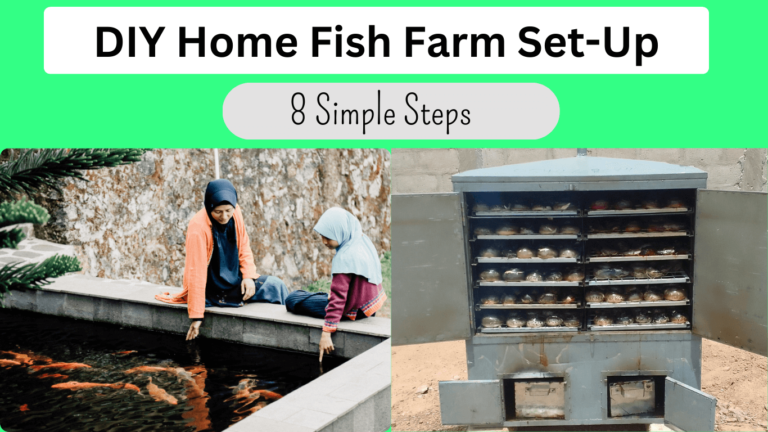
1. Pond System: If you have the space, an outdoor pond can be a natural and effective way to farm fish. The types of fish pond systems we have include tarpaulin, concrete, plastic, glass, and earthen ponds.
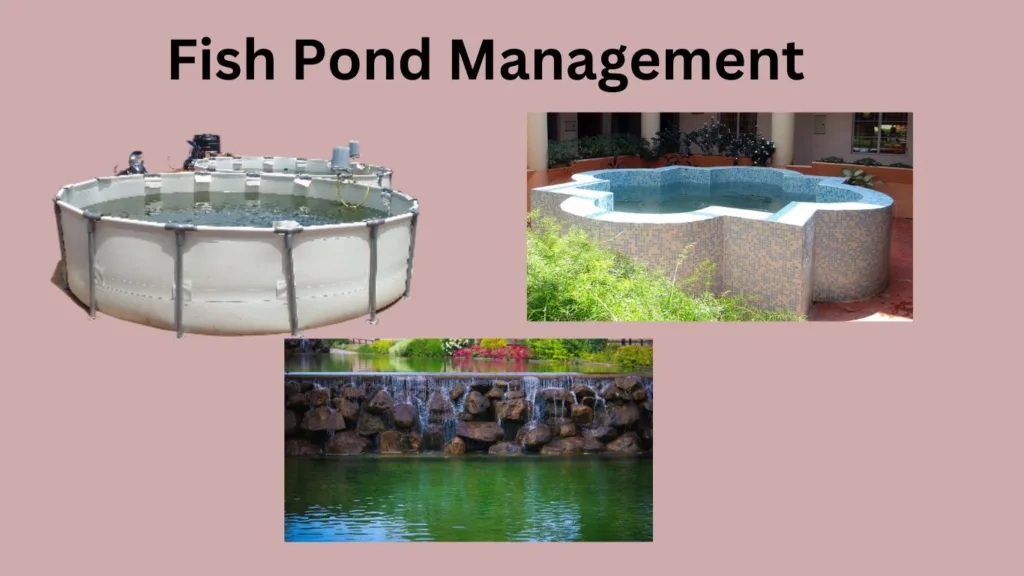
types of fish pond. tarpaulin, concrete, and earthen ponds
2. Tank System: Ideal for indoors or smaller spaces. You can use large containers or purpose-built fish tanks.
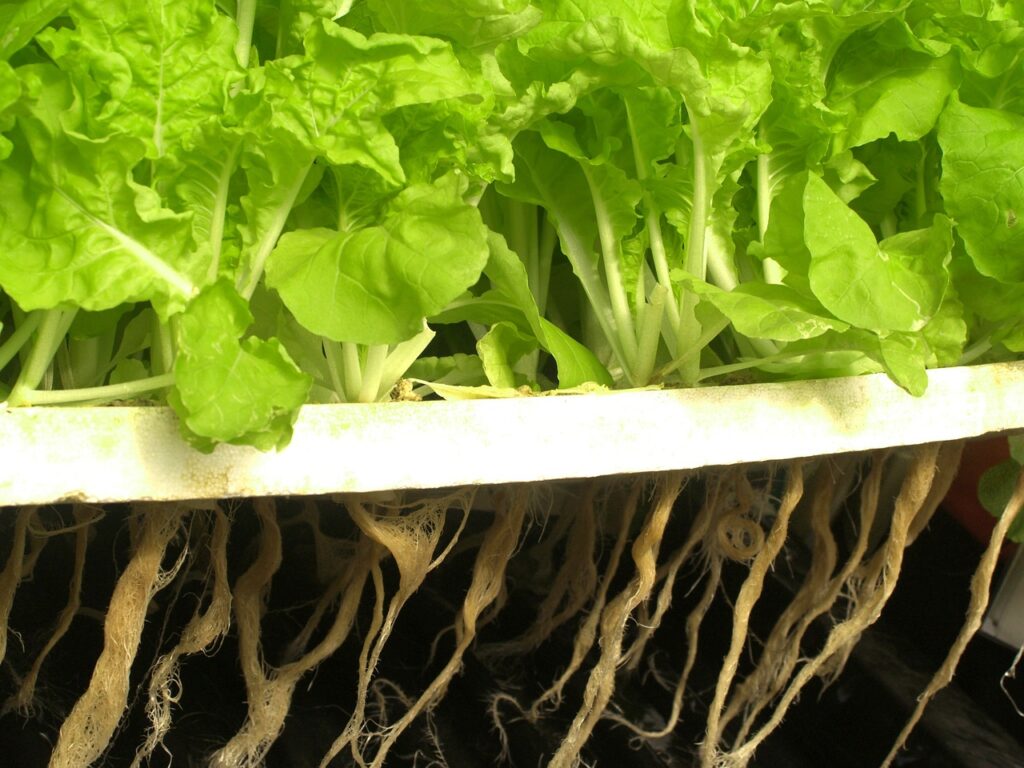
3. Aquaponics: Combines fish farming and hydroponics (growing plants without soil) in a symbiotic environment. Read the full article about Aquaponics
Step 3: Setting Up Your Tank System
If you’re opting for a tank system, here’s what you’ll need:
– Tanks: You’ll need at least one tank, but multiple tanks can help with separating fish of different ages or sizes. This is what we call Fish Sorting. This is to ensure uniform size, color, and other similar characteristics of fish. It also reduces cannibalism. A good rule of thumb is 1 fish per 10 gallons of water.
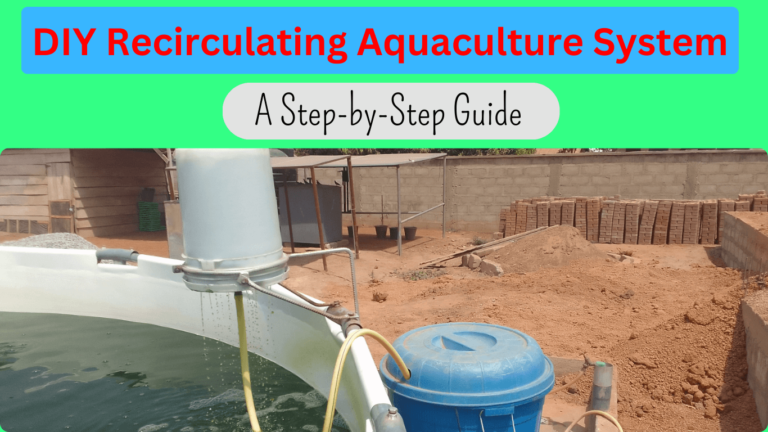
– Filtration System: Essential for keeping the water clean and your fish healthy. This includes mechanical filtration (removes solid waste), biological filtration (breaks down harmful substances), and chemical filtration (removes toxins). This is what we simply refer to as Recirculating Aquaculture System (RAS)
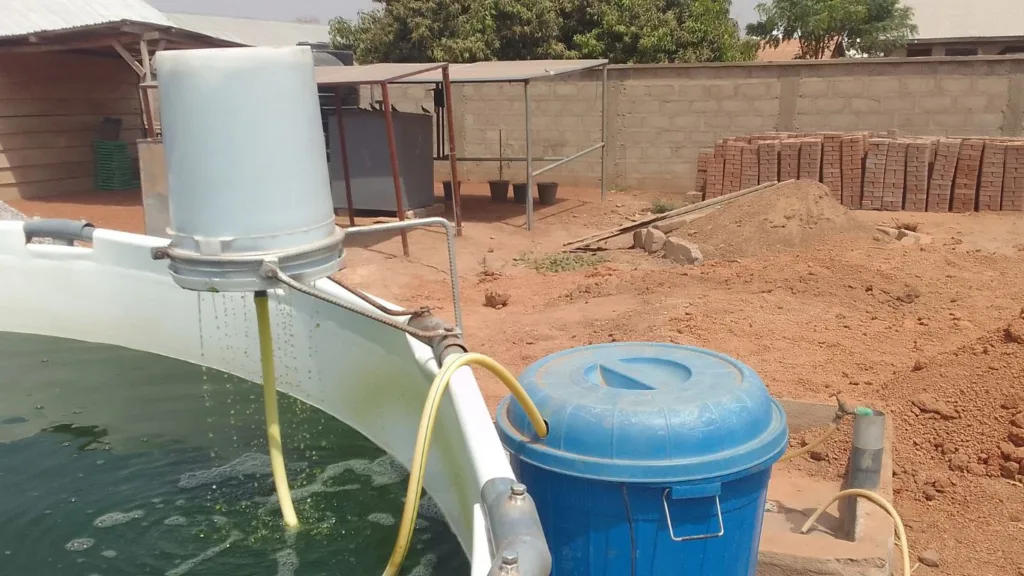
Recirculating Aquaculture System (RAS)
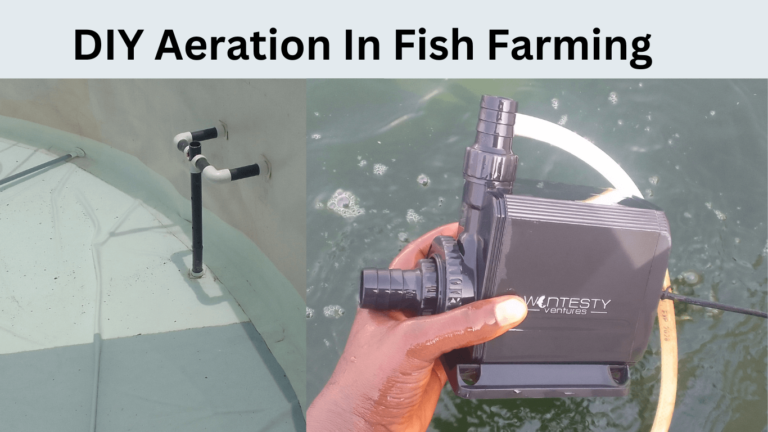
– Aeration System: Fish need oxygen, so an aeration system (like air pumps and diffusers) is crucial. This adds oxygen to the fish which ensures optimal growth and metabolism. It also helps reduce ammonia levels in fish ponds.
– Heating System: Depending on your fish species, you may need a heater to maintain the right water temperature. This is for places with a very low temperature. In other places like Africa, sometimes you even need shades to prevent excess sun from hurting the fish.
– Water Quality Testing Kit: To regularly check pH level, ammonia, nitrite, and nitrate levels.
– Lighting: While not always necessary, proper lighting can help with fish health and plant growth if you’re doing aquaponics. It also makes insects fall into the fish pond which serves as complementary feed for the fish.
Note: This same process applies when you select the tarpaulin fishpond for your backyard. Even though you can have several types of systems in your home or backyard, these two are ideal and popular.
Step 4: Preparing the Water
Water quality is the backbone of your fish farm’s success. Joke with the quality of your water and you stand the chance of losing all your fish. Here’s how to prepare and maintain it:
– Dechlorinate the Water: If you’re using tap water, make sure to dechlorinate it before adding fish.
– Cycle the Tank: Before adding fish, cycle the tank to establish beneficial bacteria. This can take a few weeks but is crucial for a healthy environment.
-Disinfect Fish Tank: Make sure you disinfect any harmful bacteria in the tank before introducing your fish. We can use the chemicals available however I prefer using local methods such as salt bathing, and cleaning with bitter leaves.
– Regular Testing: Regularly test the water parameters and adjust as needed. Maintaining proper pH, ammonia, nitrite, and nitrate levels is key.
Step 5: Stocking Your Fish
Now for the fun part – adding your fish to DIY home fish farming
– Acclimate Your Fish: Gradually add your fish to their new environment to reduce stress. This involves slowly mixing tank water with the water they came in.
– Stocking Density: Follow guidelines for your fish species to determine the appropriate stocking density. Both overcrowding and understocking have their own consequences. So try to extract a balance between the two. While overcrowding can lead to cannibalism, competition for resources, and a thunder growth rate, understocking can lead to less profit because you are leaving a lot of fish on the table.
Step 6: Feeding Your Fish
Proper nutrition is essential for healthy, fast-growing fish. You need to get the right type of feed, the right time of feeding, the method of feeding, and the right quantity of feed.
– Choose Quality Feed: Invest in high-quality fish feed that’s appropriate for your species.
– Feeding Schedule: Feed your fish 1-3 times a day depending on their size and age. For fingerling up to 4 months, you may feed them 2 times daily. When they are above 4 months you may feed them once. But avoid overfeeding. Excess food can pollute the water. And underfeeding too can reduce their growth rate. So use the responsive feeding method where you throw the feed into the water bit by bit and observe how they respond to it.
– Monitor Growth: Regularly monitor your fish’s growth and adjust feed accordingly.
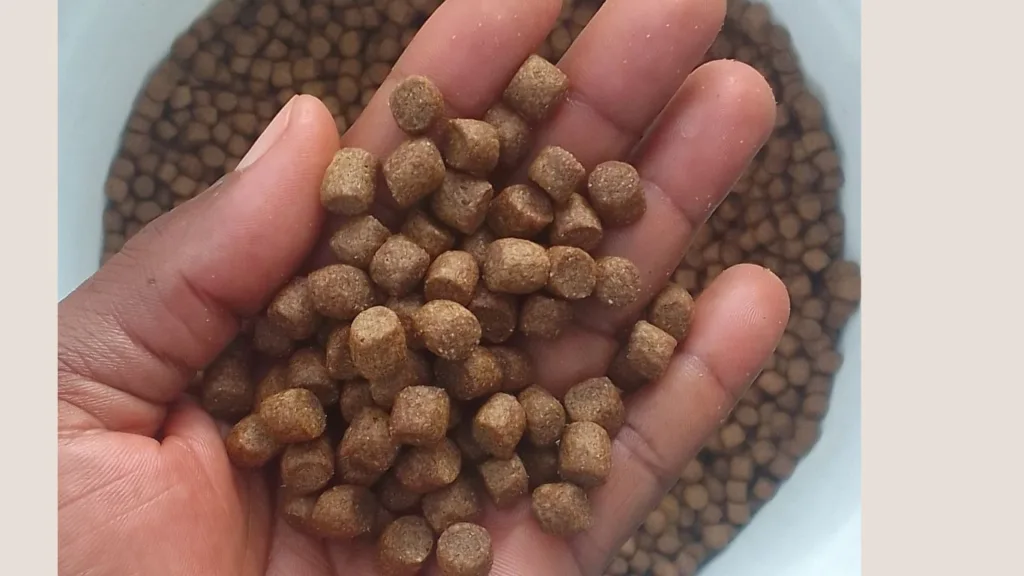
Floating and pelleted fish feed
Step 7: Maintenance
Regular maintenance is crucial for a successful fish farm:
– Daily Checks: Check your fish, water quality, and equipment daily.
– Water Changes: Perform partial water changes (10-20%) weekly to keep the water clean. But if you are using the RAS which filters the water, then you don’t need regular change of water.
– Clean the Tank: Remove debris and clean the tank and equipment as needed.
You may read further on Fish Pond Management.
Step 8: Harvesting
When your fish reaches the desired size, it’s time to harvest. Here’s how:
– Prepare: Have all the necessary tools ready (nets, containers, etc.).
– Catch and Process: Catch your fish gently to avoid stress and injury. Process them as per your needs, whether it’s for personal consumption or sale.
– Restock: After harvesting, restock your tank with new fish to keep the cycle going.
Read the full article on How To Harvest Catfish in Pond: A Guide To Successful Harvest
Tips for Success
1. Start Small: Begin with a small system to get the hang of it before scaling up. I have a friend who is a commercial fish farmer but started with just a small pond in his home with 500 fish.
2. Keep Learning: Stay informed about best practices and new techniques.
3. Join a Community: Connect with other home fish farmers for support and advice. I’m currently in several WhatsApp and FaceBook groups and other social media platforms. You gain a lot when you are there including marketing opportunities.
4. Be Patient: Farming fish takes time and patience, especially in the beginning.
5. Stay Consistent: Regular maintenance and monitoring are key to success.
6. Marketing Tip: You need to adopt the best methods of marketing your fish since is a challenge to most fish farmers. You may check out this post about social media marketing strategies
Troubleshooting Common Issues
Even with the best setup, you will surely encounter some issues. Here’s how to handle common problems:
– Poor Water Quality: Regularly test and adjust water parameters. Increase filtration and aeration if needed. The last resort is to change the water.
– Fish Health Problems: Quarantine sick fish, check for diseases, and consult a vet if necessary.
– Algae Overgrowth: Control lighting, reduce nutrient levels, and introduce algae-eating fish or snails.
Exploring Aquaponics
If you’re interested in taking your DIY home fish farm to the next level, consider aquaponics. This system combines fish farming and plant cultivation, creating a symbiotic environment where fish waste provides nutrients for plants, and plants help filter the water.
Benefits of Aquaponics
– Sustainability: It’s a closed-loop system that uses less water and no chemical fertilizers.
– Fresh Produce: Grow fresh vegetables and herbs alongside your fish.
– Efficiency: Maximizes space and resources, making it ideal for urban settings.
Setting Up Aquaponics
– Choose Plants: Leafy greens, herbs, and certain vegetables thrive in aquaponics systems.
– Grow Beds: Use grow beds with a suitable medium (like gravel or clay pellets) for plant roots.
– Pump System: Circulates water between the fish tank and grow beds.
– Balance the System: Regularly monitor and balance the needs of both fish and plants.
Conclusion
Setting up a DIY home fish farm can be an incredibly rewarding project, offering fresh, healthy fish and a sense of accomplishment.
By starting small, staying informed, and maintaining your system diligently, you’ll soon be enjoying the fruits (or fish) of your labor. So why wait? Go into the world of DIY home fish farms and embark on a journey towards self-sufficiency and sustainability.


