
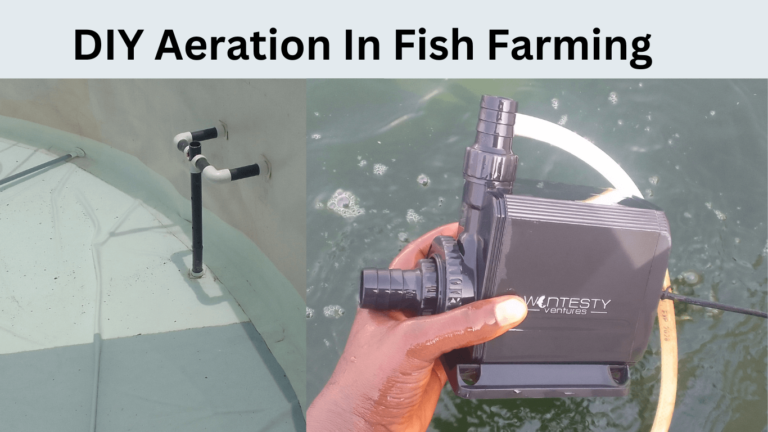
DIY aeration in fish farming is a step-by-step guide on how to develop your your aeration in fish farming to minimize the cost of purchasing an aeration system. I simply put together some methods of aeration and how to create each of them by yourself.
Maintaining proper oxygen levels is crucial for the health and vitality of your fish, making aeration an essential practice in any aquaculture setup. While commercial aeration systems can be effective, they often come with high costs that can strain your budget. Fortunately, there are several do-it-yourself (DIY) aeration solutions that are both affordable and efficient.
DIY Aeration Steps
Creating a DIY aeration system in fish farming can be a cost-effective way to maintain adequate dissolved oxygen levels in your water. Here are some methods and step-by-step guides for DIY aeration systems:
1. DIY Airlift Pump
An airlift pump is a simple and effective aeration method that uses air to lift and circulate water, promoting oxygen exchange.
Materials:
– PVC pipe (1-inch diameter, length depending on your pond depth)
– Air pump (suitable for your pond size)
– Airline tubing
– Air stone or diffuser
– Hose clamps or zip ties
Steps:
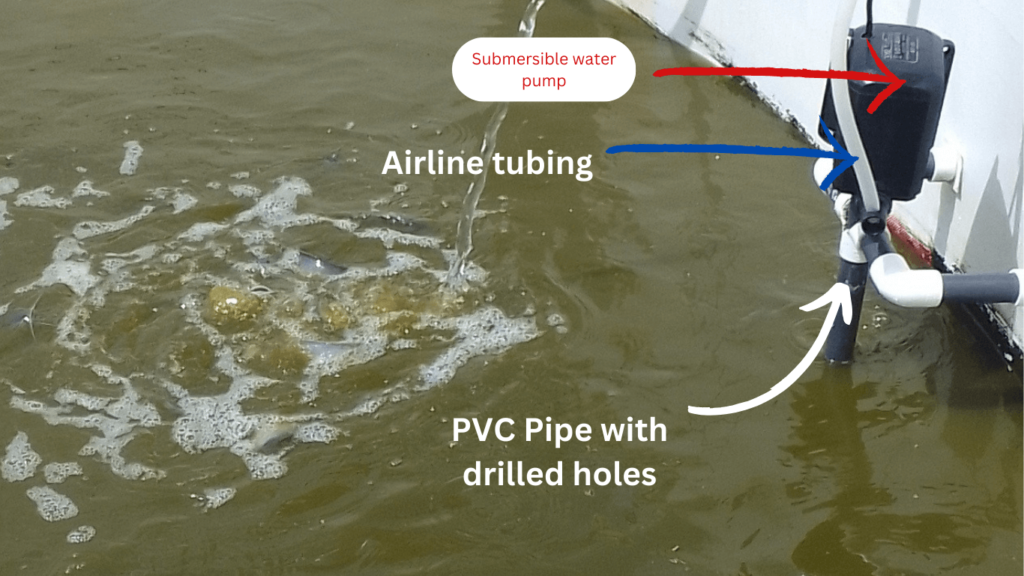
1. Cut the PVC Pipe: Cut the PVC pipe to a length that will reach from the bottom to above the surface of the water in your pond.
2. Drill Holes: Drill several small holes near the bottom end of the PVC pipe to allow water to enter.
3. Attach Airline Tubing: Attach the airline tubing to the air pump. Use hose clamps or zip ties to secure the tubing along the PVC pipe, with the air stone or diffuser placed near the bottom end.
4. Insert the Pipe: Place the PVC pipe vertically in the pond, ensuring the top is above the water surface and the bottom end is submerged.
5. Start the Air Pump: Turn on the air pump. Air bubbles will rise through the pipe, lifting water and promoting oxygenation.
2. DIY Paddle Wheel Aerator
A paddle-wheel aerator is effective for larger ponds and provides substantial water movement.
Materials:
– Plastic or metal paddles (you can use plastic bottles cut in half)
– Wooden or metal frame
– Motor (e.g., from an old washing machine)
– Axle (metal rod)
– Bearings
– Power source (electricity or solar panel)
Steps:
1. Build the Frame: Construct a sturdy frame to hold the paddle wheel. Ensure it can float or be anchored near the pond’s edge.
2. Create the Paddle Wheel: Attach the paddles evenly around the axle. Make sure the paddles are securely fixed and evenly spaced.
3. Mount the Motor: Secure the motor to the frame. Connect the axle to the motor using appropriate couplings and bearings to allow smooth rotation.
4. Power the Motor: Connect the motor to your power source. If using electricity, ensure all connections are waterproof. For solar, connect to a suitable solar panel system.
5. Place and Operate: Position the paddle wheel in the pond, partially submerged, and turn on the motor. The rotating paddles will agitate the water surface, enhancing oxygenation.
3. DIY Solar-Powered Air Pump
A solar-powered air pump is an eco-friendly solution for small ponds or tanks.
Materials:
– Solar panel (suitable wattage for your pump)
– Air pump (low voltage, DC)
– Battery (optional, for storing solar energy)
– Charge controller (if using a battery)
– Airline tubing
– Air stone or diffuser
Steps:
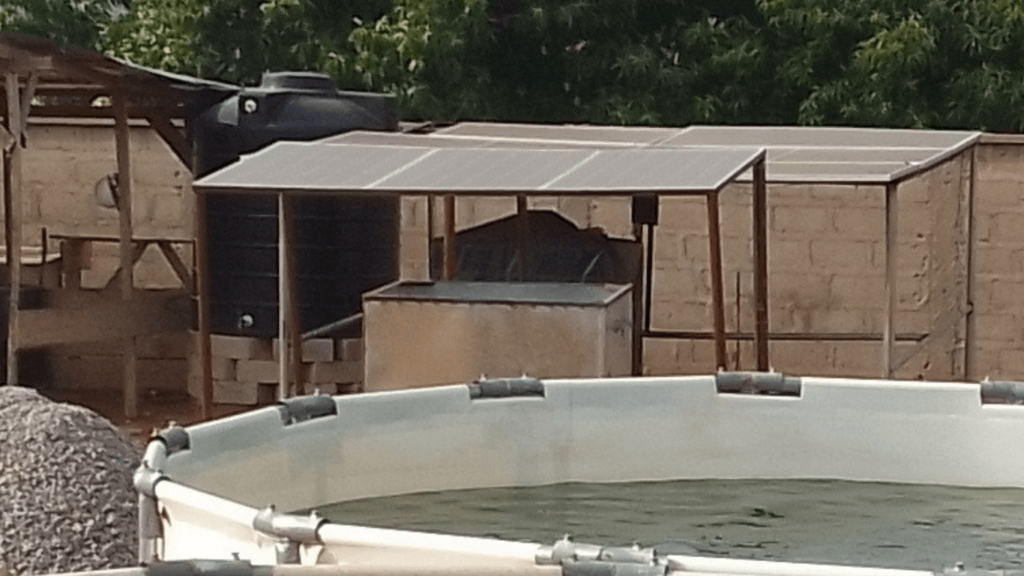
1. Set Up Solar Panel: Install the solar panel in a location with maximum sunlight exposure. Secure it on a stand or mount it on a nearby structure.
2. Connect the Air Pump: Connect the air pump to the solar panel. If using a battery, connect the solar panel to the charge controller, then to the battery, and finally to the air pump.
3. Attach Airline Tubing: Attach the airline tubing to the air pump and secure it with hose clamps or zip ties.
4. Place the Air Stone: Position the air stone or diffuser at the bottom of the pond or tank. Ensure the tubing is long enough to reach from the pump to the airstone.
5. Start the System: Turn on the system (or it may start automatically in sunlight). The air stone will release bubbles, increasing oxygen levels in the water.
4. DIY Venturi Aerator
A Venturi aerator uses water flow to draw in air, mixing it with the water.
Materials:
– PVC pipe (1-inch diameter)
– PVC T-joint and elbows
– Hose (connected to a water pump)
– Small air tube
– Hose clamps
Steps:
1. Assemble the PVC Pipe: Connect the PVC pipe with the T-joint and elbows to form a loop that fits your pond or tank.
2. Install the Air Tube: Drill a small hole in the PVC pipe near the water outlet and insert the small air tube. Secure it with a hose clamp.
3. Connect the Water Pump: Attach the hose to the water pump and connect it to the PVC pipe loop.
4. Position the Outlet: Place the PVC pipe outlet in the pond or tank, ensuring it is above the water surface.
5. Operate the Pump: Turn on the water pump. Water flow will create a suction effect, drawing air through the small tube and mixing it with the water.
Conclusion
In summary, DIY aeration solutions offer a cost-effective and accessible way to maintain optimal oxygen levels in your fish farming setup.
By utilizing readily available materials and simple construction techniques, you can create effective aeration systems that rival commercial options in performance.
Whether you’re using an airlift pump, a paddle wheel aerator, a solar-powered air pump, or a Venturi aerator, each method provides unique benefits suited to different scales and types of aquaculture operations.
Implementing these DIY aeration methods not only enhances the health and growth of your fish but also empowers you with greater control over your farming environment.
By continuously experimenting and refining your DIY systems, you can ensure a sustainable and productive aquaculture practice that meets the needs of your aquatic livestock while staying within your budget.

I have read so many content regarding the blogger lovers however this post is actually anice piece of writing, keep it up